
Common Installation Mistakes With Hidden Car Gun Safes and How to Prevent Them
Proper installation of a concealed firearm storage device is not merely a matter of convenience; it is a critical safety imperative. According to the National Safety Council, improper storage is a leading factor in accidental discharges and unauthorized access by children or intruders. When you install a hidden car gun safe, you are creating a secure barrier against theft and misuse. However, the difference between a secure vault and a dangerous liability often lies in the precision of the mounting process. This guide details the most frequent errors drivers make when securing their headrest gun safe and provides actionable steps to ensure your device performs exactly as engineered.
Understanding the Mechanism and Fit
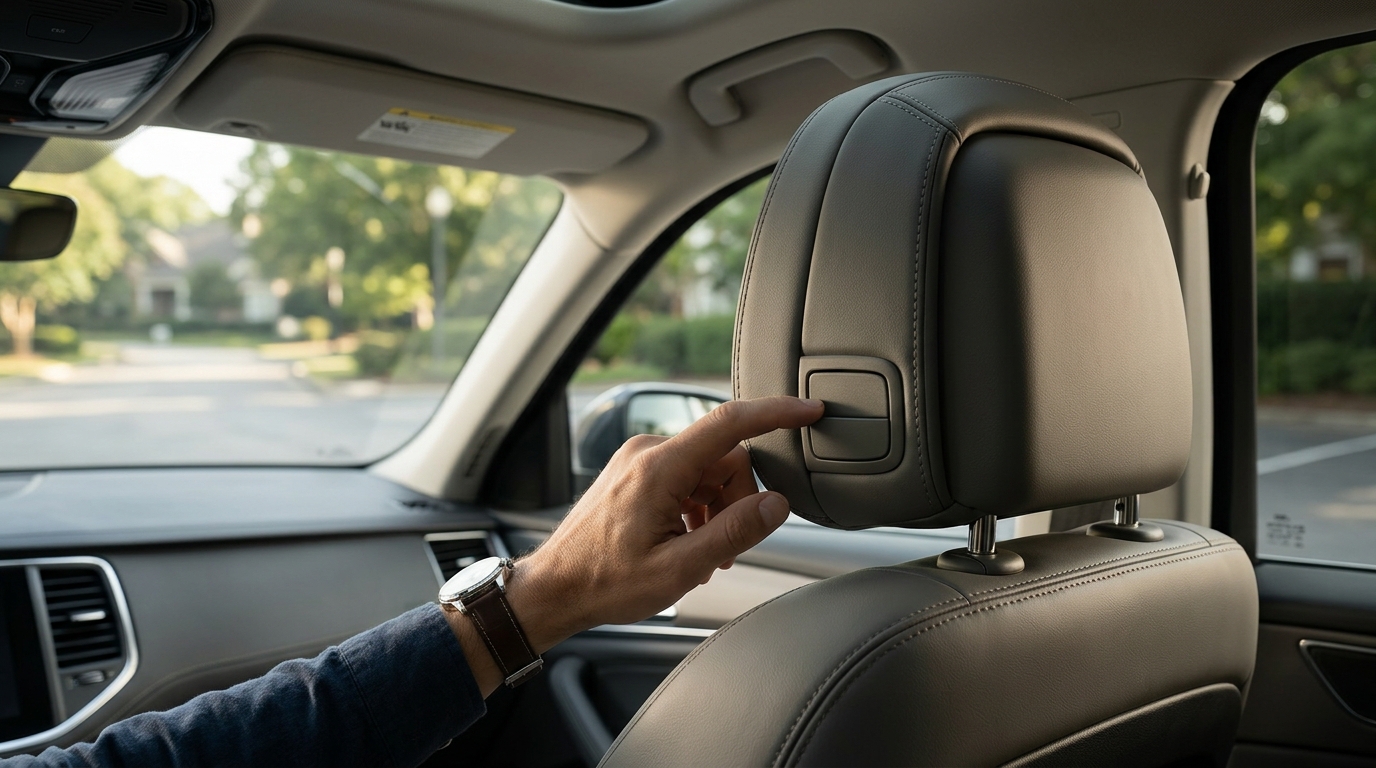
Before you pick up a drill or a wrench, you must understand how the device interacts with your vehicle's interior. The Headrest Safe is designed to integrate seamlessly with standard automotive headrest posts. The Headrest Safe utilizes a proprietary locking mechanism that engages when the headrest is removed and reinserted correctly. This design eliminates the need for complex drilling into the vehicle's frame, which can compromise structural integrity.
One of the most common initial mistakes is assuming all headrest posts are identical. While most modern vehicles use a standard two-post system, variations in post diameter and length exist. If the headrest posts are too short or too thick, the safe may not seat properly. Always measure your existing headrest posts before installation. A proper fit ensures that the locking pins engage fully, creating a tamper-resistant seal. If the fit is loose, the safe can become a projectile during sudden stops or accidents, rendering it useless in an emergency.
Critical Mounting Errors to Avoid
Even with a universal design, installation errors can occur if the user does not follow the precise sequence of operations. The primary goal is to ensure the safe is rigidly attached to the headrest posts without obstructing the driver's view or comfort.
Ignoring the Torque Specifications
When tightening the mounting bolts, it is crucial to adhere to the manufacturer's torque specifications. Over-tightening can strip the threads or crack the housing, while under-tightening allows the unit to wobble. A secure installation requires firm, even pressure on all mounting points. Use a calibrated torque wrench if available, or rely on the tactile feedback of the tool provided in the kit. The goal is a snug fit that does not shift under lateral pressure.
Obstructing Airbag Deployment Zones
A fatal error in installation is placing the safe in a position that interferes with side-curtain airbags. Many modern vehicles have airbags deployed along the roofline or in the headrest area. Before finalizing the position, consult your vehicle's owner manual to identify airbag deployment zones. The Headrest Safe is engineered to avoid these zones, but vehicle-specific modifications or aftermarket headrests can alter these boundaries. Always verify clearance around the mounting area.
Incorrect Headrest Post Alignment
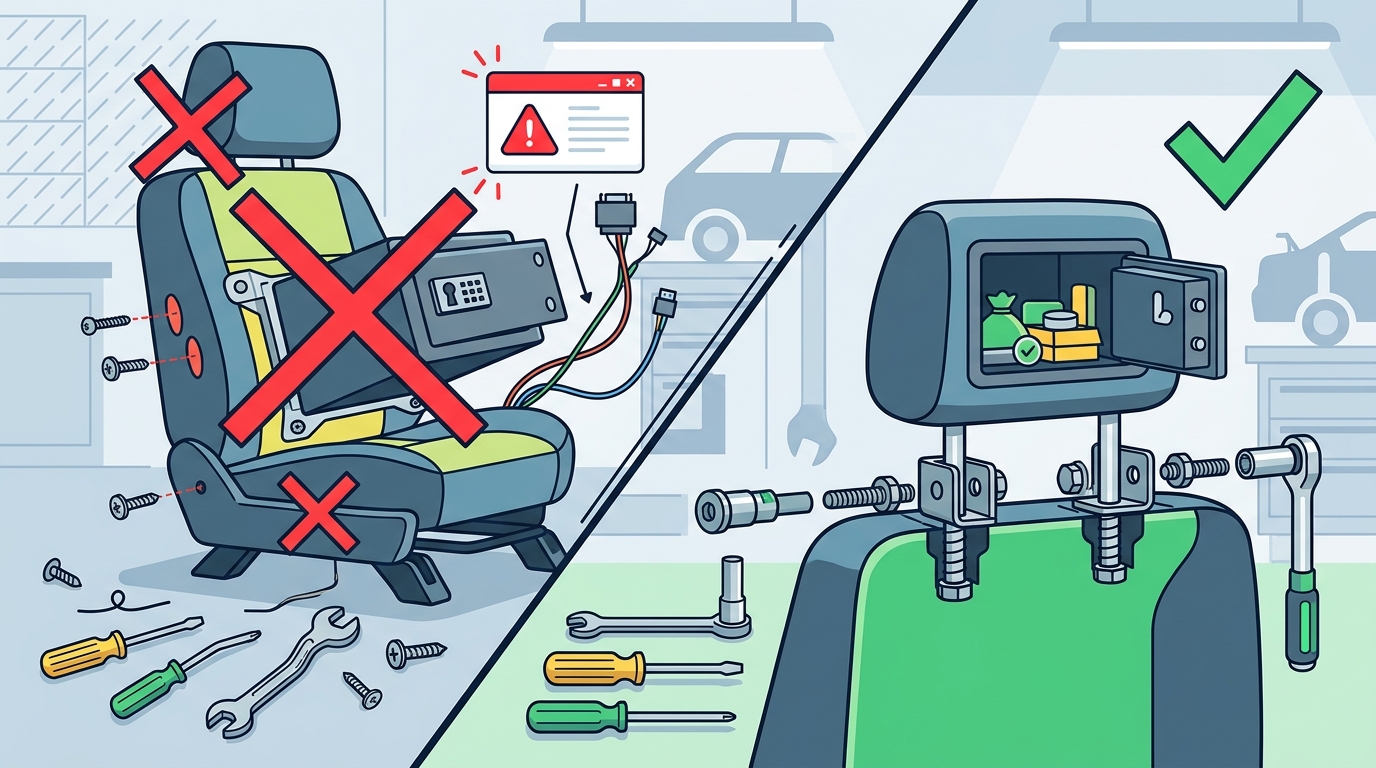
The headrest posts must be inserted into the safe's guide channels with perfect alignment. Forcing the posts in at an angle can bend the metal or damage the internal locking pins. If you encounter resistance, stop and realign the posts. The installation should feel smooth and natural. If the posts do not slide in easily, do not use excessive force. Check for debris or misalignment in the guide channels. Proper alignment ensures that the locking mechanism engages correctly every time.
Wiring and Power Source Issues
While the primary locking mechanism is mechanical, some advanced models may include electronic components or charging ports for personal devices. Improper wiring can lead to short circuits or battery drain.
Pinching Wires
When routing any power cables, ensure they are not pinched between the safe and the vehicle's interior panels. Pinched wires can fray over time, leading to electrical failure or fire hazards. Use zip ties or clips to secure wires away from moving parts and sharp edges. A clean wire route is a safe wire route. Regularly inspect the wiring for signs of wear or damage.
Incorrect Power Source Connection
If your model includes a USB charging port, connect it to a power source that matches the voltage requirements. Using an incompatible power adapter can damage the internal circuitry. Always use the provided cable or a high-quality equivalent. Avoid connecting to unstable power sources that may fluctuate. A stable power connection ensures that any electronic components function reliably when needed.
Verifying Security and Stability
Once the installation is complete, you must verify that the safe is secure. This step is non-negotiable for ensuring the safety of your firearm and your vehicle's occupants.
The Shake Test
Perform a rigorous shake test by gripping the safe and applying force in all directions. The unit should not move more than a millimeter. If it shifts, the mounting bolts are not tight enough, or the headrest posts are not fully seated. Re-tighten the bolts and recheck the fit. A secure safe is a stable safe. Any movement indicates a potential failure point.
Locking Mechanism Verification
Test the locking mechanism multiple times. Insert and remove the headrest posts several times to ensure the pins engage and disengage smoothly. Check that the lock engages automatically when the headrest is in place. If the lock does not engage, the alignment is off. Adjust the position slightly and test again. The lock should be reliable and consistent. A malfunctioning lock defeats the purpose of the safe.
Key Management
Ensure you have a secure and accessible place for the keys. Losing the keys can render the safe inaccessible in an emergency. Keep a spare key in a known, secure location outside the vehicle. Do not leave the key inside the safe or in an obvious spot in the car. Proper key management is part of the overall security strategy.
Long-Term Maintenance and Care
Regular maintenance ensures the longevity and reliability of your hidden car gun safe. Environmental factors such as heat, cold, and humidity can affect the performance of the locking mechanism.
Regular Cleaning
Clean the exterior of the safe with a damp cloth and mild soap. Avoid harsh chemicals that can damage the finish or corrode the metal. Keep the locking mechanism free of dust and debris. Use a compressed air duster to clean the pins and channels periodically. A clean mechanism operates more smoothly and reliably.
Lubrication
Apply a light lubricant to the moving parts of the locking mechanism as recommended by the manufacturer. Use a dry lubricant to avoid attracting dust and dirt. Over-lubrication can attract grime, which can impede the locking action. Follow the maintenance schedule provided in the user manual. Proper lubrication extends the life of the mechanism.
Inspection
Inspect the safe for signs of wear, corrosion, or damage every six months. Check the mounting bolts for tightness. Look for any cracks or deformities in the housing. Address any issues immediately to prevent failure. Regular inspection is the best way to ensure ongoing security.
Key Takeaways
- Verify Headrest Post Dimensions: Ensure your vehicle's headrest posts match the safe's requirements to prevent a loose fit.
- Avoid Airbag Zones: Always check your vehicle manual to ensure the safe does not obstruct airbag deployment.
- Tighten Bolts Properly: Use the correct torque to secure the safe without stripping threads or cracking the housing.
- Test the Locking Mechanism: Perform multiple insertion and removal cycles to ensure reliable engagement.
- Secure the Keys: Keep a spare key in a safe, accessible location outside the vehicle.
- Perform Regular Maintenance: Clean and lubricate the mechanism periodically to ensure smooth operation.
- Conduct a Shake Test: Verify that the safe is rigidly mounted and does not shift under pressure.
Frequently Asked Questions
Can I install a hidden car gun safe in any vehicle?
Most standard vehicles with two-post headrests are compatible. However, you must verify the headrest post diameter and length to ensure a proper fit. Some luxury or custom vehicles may have unique headrest designs that require adapters.
What is the best way to secure the safe to the headrest posts?
The safe is designed to lock onto the headrest posts when the headrest is removed and reinserted. Ensure the posts are fully seated in the guide channels and that the locking pins engage. Tighten the mounting bolts to the specified torque for maximum security.
How do I prevent the safe from becoming a projectile?
Ensure the safe is rigidly mounted by tightening all bolts and verifying the fit of the headrest posts. Perform a shake test to confirm there is no movement. A secure installation prevents the safe from shifting during sudden stops or accidents.
Can I use a hidden car gun safe with aftermarket headrests?
Aftermarket headrests may have different dimensions or mounting points. You must verify compatibility with the safe's specifications. If the headrest posts do not match, you may need to use the original headrests or consult the manufacturer for adapter options.
How often should I lubricate the locking mechanism?
Apply a light lubricant to the moving parts every six months or as recommended by the manufacturer. Use a dry lubricant to avoid attracting dust and dirt. Regular lubrication ensures smooth operation and prevents corrosion.
What should I do if the lock does not engage?
Check the alignment of the headrest posts and the locking pins. Ensure the posts are fully seated in the guide channels. If the lock still does not engage, consult the user manual for troubleshooting steps or contact customer support for assistance.
Is it safe to install a hidden car gun safe near airbags?
No, it is not safe to install the safe in a way that obstructs airbag deployment. Always check your vehicle manual to identify airbag zones and ensure the safe is positioned outside these areas. Obstructing airbags can lead to serious injury in an accident.
How do I clean the hidden car gun safe?
Clean the exterior with a damp cloth and mild soap. Avoid harsh chemicals that can damage the finish. Use a compressed air duster to clean the locking mechanism and channels. Regular cleaning prevents the buildup of dust and debris.
Secure Your Vehicle Today
Installing a hidden car gun safe is a vital step in ensuring the safety of your family and your property. By avoiding common installation mistakes and following the guidelines in this article, you can ensure your device performs reliably when you need it most. For more information on our products and services, visit theheadrestsafe.com or contact our support team for personalized assistance. Protect what matters most with a secure, reliable solution.